
Published by UK Bricks & Slips ·
Shortlist by the decision you need to make
Start with two or three candidates from the brick slips collection. Choose a meaningful comparison: a grey against a red, or two cream blends with different appearances. Ordering many loosely related samples can make the decision harder because several design variables change at once.
For a grey starting point, examine TBS Iced Grey; for a cream comparison, look at TBS Shelford Cream Multi. Check the current sample option on each listing and ask what it includes. A single face, several loose slips and a mounted board reveal different amounts of variation. Do not assume that every product has the same sample service or that mortar is included.
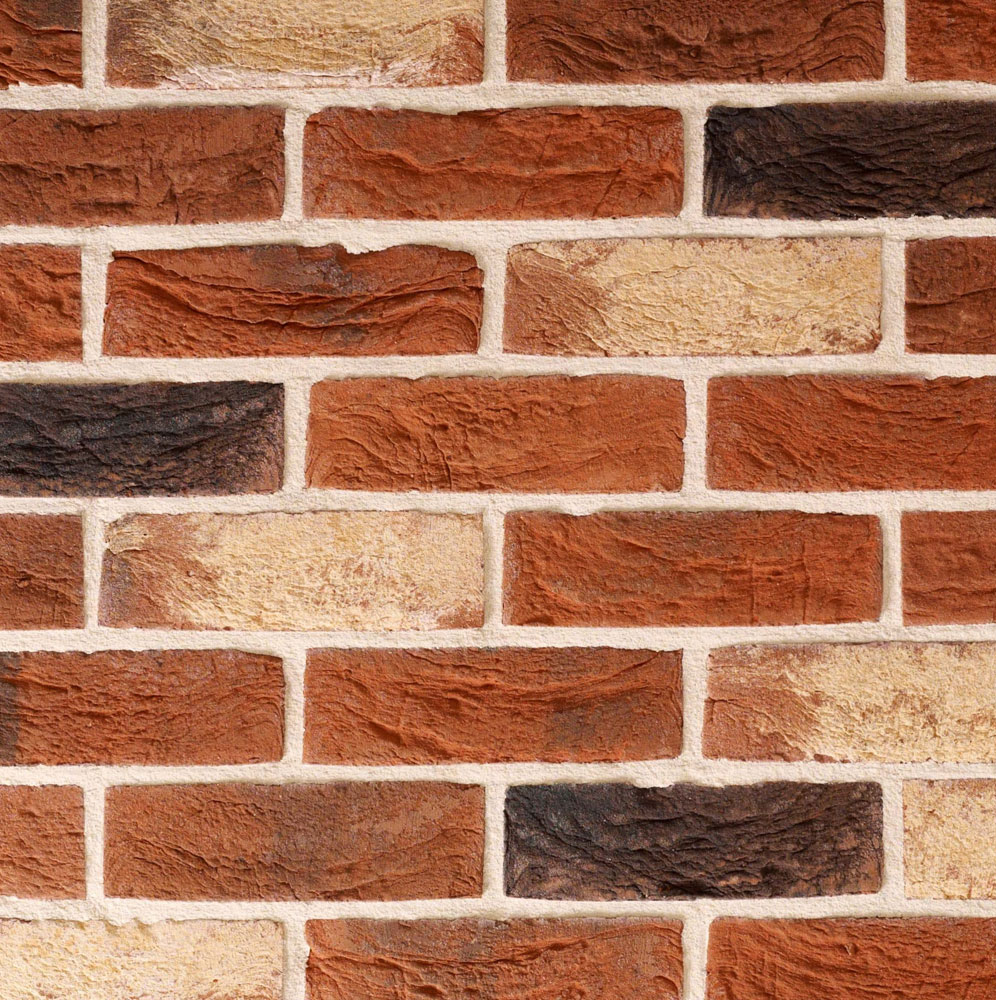 TBS Traditional Red Blend Brick Slips
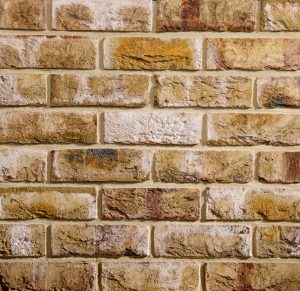 TBS London Weathered Yellow Brick Slips
 TBS Iced Grey Brick Slips
Use the position and light of the finished wall
View the samples upright, safely supported, near the proposed wall. A sample lying on a table receives light differently from a vertical finish. Check it in daylight and again under the lamps or ceiling lights used in that room. Keep the position consistent while comparing products, then try the winner in any darker part of the proposed wall.
Record a concrete observation rather than “looks nice”: “the pale face works with the cupboard door in daylight” or “the darker markings become more noticeable under the evening light.” Photographs can help you remember the arrangement, but exposure and screen settings make them an unreliable final colour reference. Keep the actual sample available for the decision.
Look beyond a single attractive face
Ask whether the sample represents the intended blend and current supply. A small sample cannot show every face or promise an exact repeat across a large wall. If the choice depends on a particular balance of light and dark pieces, discuss that before ordering. Avoid selecting a product solely because one sample face matches a paint chip.
The BDA’s guidance on reference panels supports judging the combined appearance, including the chosen mortar and bond. For a slip project, agree a suitable trial panel with your installer and supplier rather than treating a loose sample as the final approval. Step back to the normal viewing distance as well as examining the surface close up.
Include mortar, cabinets and flooring
Place the slip beside real samples of the floor, worktop, cabinet or paint that will remain in the room. Include the intended mortar once compatible options are established. The colour and mortar guide explains how to compare combinations; the pointing guide covers the practical specification.
Try changing one item at a time. Compare two mortars with the same slip, then two slips with the same mortar. Paper strips can help you explore joint contrast initially, but cannot approve the finished mortar colour or texture. A trial with the actual products is the more useful final reference, assessed when it is ready under the manufacturer’s instructions.
Use a simple comparison scorecard
Give each candidate the same observations so the decision is repeatable. Use the printable checklist alongside this guide or copy these fields into your project notes. Scores can organise preferences, but they should not hide an unresolved suitability question.
Product and sample: exact name, format, date received and what the sample contains. Daylight: dominant tone, contrast and any unwanted undertone. Evening light: whether the preference changes. Variation: range of faces seen and questions for the supplier. Mortar: intended product, colour and joint. Neighbours: floor, cabinets and paint checked together.
Add a final “keep, compare further or reject” decision with one reason. For example, “compare further: colour suits the flooring, but need to see more faces” is more useful than a score of seven out of ten. Leave space for the installer’s comments about edges and practical details.
Keep an agreed reference through ordering
Once you have a favourite, record the product and variant precisely. Keep the accepted sample or trial panel and the mortar details, and share them with anyone ordering or installing. Ask about expected variation and the supply for the full project before making assumptions about future top-up orders.
Check delivered materials against the agreed reference and raise concerns before fixing. This is a comparison of the overall intended blend, not a demand that each face be identical. Move on to measuring and quantities when the product and layout are settled, or use the brick slips overview if you are still choosing the type of project.
A sample helps you choose an appearance. It does not establish that the fixing system is suitable for a shower, fireplace or external wall; those location checks remain part of the project specification.
Brick slip sample comparison sheet
Compare more than one face where possible. A sample helps assess a blend; it does not guarantee that every piece or future batch will look identical.
| Record or check | Your notes |
|---|---|
| Product / blend and sample reference | Space for notes |
| Intended room and application | Space for notes |
| Appearance in daylight | Space for notes |
| Appearance under the room’s lighting | Space for notes |
| Variation across the sample pieces | Space for notes |
| Proposed mortar colour and joint finish | Space for notes |
| Comparison with cabinets, floor and adjacent finishes | Space for notes |
| Corner / reveal formats required | Space for notes |
| Product suitability and sample options confirmed | Space for notes |
| Preferred option and questions before ordering | Space for notes |
Sources and product guidance
Use the current instructions for your chosen product and complete installation. The sources below support this guide; they do not approve every product combination.
Find a finish for your project
Compare the brick slips range, check product details and sample options, or tell us about the wall you are planning.