
Published by UK Bricks & Slips · · Updated
Choose the wall before the blend
Begin with the view you see most often: from the doorway, the sofa or the dining table. Mark the proposed edges with removable tape and consider what furniture will hide. A full wall can give a clear backdrop; a small panel needs a deliberate relationship to a cabinet, opening or piece of furniture. Browse the brick slips range with this outline in mind.
The examples below are suggested pairings, not photographs or accounts of completed customer projects. Product photographs show a blend; the room’s light and the chosen mortar will affect the final appearance.
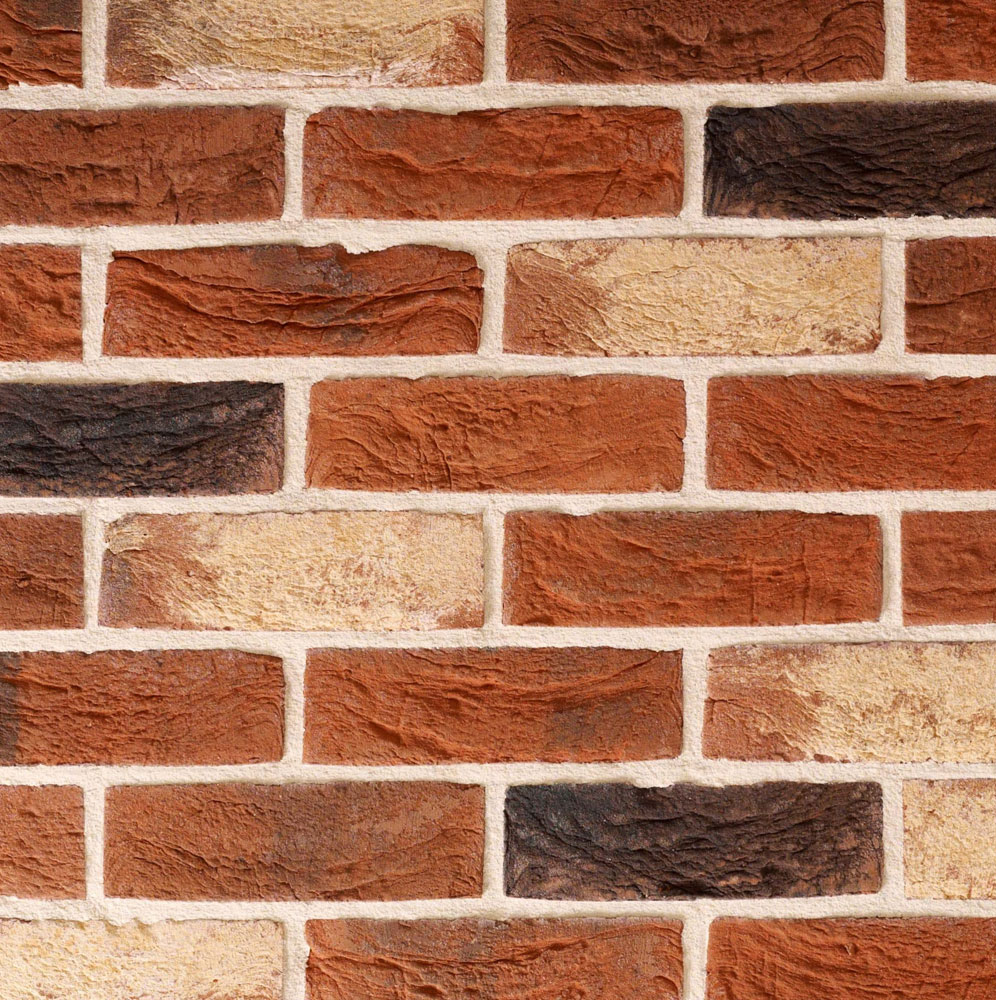 TBS Traditional Red Blend Brick Slips
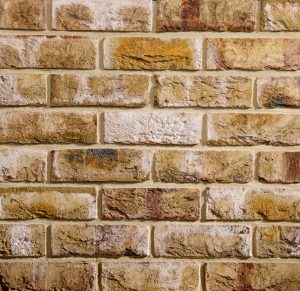 TBS London Weathered Yellow Brick Slips
 TBS Iced Grey Brick Slips
1–2. A sofa backdrop or dining corner
1. Frame the seating area. Try a red blend such as TBS Audley Antique behind a plain sofa. Place a generous sample beside the upholstery before committing. The trade-off is visual competition: patterned cushions, busy curtains and strongly varied brick can all demand attention. Decide which one should lead.
2. Define an open-plan dining corner. Consider TBS London Weathered Yellow on the wall behind the table. Stop at a real corner or other architectural boundary so the finish feels intentional. Check the view with chairs pulled out; the wall should still relate to the dining area when the room is in use.
3–4. Give a hallway or desk a clear backdrop
3. Add interest to a hallway end wall. Compare TBS Shelford Cream Multi with your door paint and flooring. A pale colour is worth testing where you want a quieter composition, but a sample in the actual hallway is more useful than assuming it will brighten the space. Measure the finished build-up near doors and skirtings.
4. Make a home-office backdrop. TBS Iced Grey is a grey starting point for a desk wall with timber shelving. Check it on a video call as well as in person: a strongly contrasted joint pattern may appear busier on screen. Plan shelves and cable routes before fitting rather than treating the finished facing as their support.
5–6. Balance a headboard or built-in joinery
5. Centre a bedroom panel on the headboard. Try TBS Sandalwood alongside the bedding and bedside furniture. Make the panel wide enough to relate to the whole arrangement. Compare an edge that ends outside both tables with one that runs to the room corners; tiny exposed strips can make the layout feel accidental.
6. Frame an alcove cabinet. TBS Mystique offers a buff family option to compare with painted joinery. Decide whether the facing finishes behind, beside or above the cabinet. Each choice changes visible edges and usable depth. Ask the installer to draw the return rather than relying on a front-view sketch alone.
7–8. Separate dining texture from working surfaces
7. Use a kitchen dining wall. Compare TBS Birkdale Blend with cabinet doors and worktop samples. A wall beside a breakfast table offers a different brief from the area behind a sink or hob. Read the kitchen and bathroom guide before specifying splash or cooking zones.
8. Outline a media wall. TBS Normandy Grey Blend provides another grey comparison. Mark the screen, service access and any soundbar before choosing the brick layout. If the design includes a fire, establish the appliance and full-system requirements through the fireplace planning guide before selecting a facing.
9–10. Make pattern or lighting the main decision
9. Create a bounded herringbone panel. Consider TBS Traditional Red Blend inside a clearly drawn rectangular area. Agree the centre line and border treatment first. Herringbone introduces angled perimeter cuts, so obtain a layout and cutting allowance; our pattern guide explains the differences from running bond.
10. Test a wall under side lighting. Use TBS Rustington Antique as a brown colour comparison, then place the actual sample where the intended light will fall. Side lighting can make surface relief and joints more noticeable. This is a reason to inspect the sample and trial panel carefully, rather than choosing a blend from a straight-on photograph.
Turn the idea into a shortlist
Limit the first comparison to two or three blends. Keep the wall position and furniture constant while changing the slip or mortar, so you can tell what improved the scheme. The colour and mortar guide helps narrow those combinations. For the basic planning sequence, start with what brick slips are and how to plan a project.
Before ordering, agree the exposed edges, any corner pieces, the proposed joint and the finished depth. A simple measured sketch and an accepted trial panel turn an attractive idea into something your installer can price and reproduce.
Sources and product guidance
Use the current instructions for your chosen product and complete installation. The sources below support this guide; they do not approve every product combination.
Find a finish for your project
Compare the brick slips range, check product details and sample options, or tell us about the wall you are planning.